How to Paint Exterior Window Frames
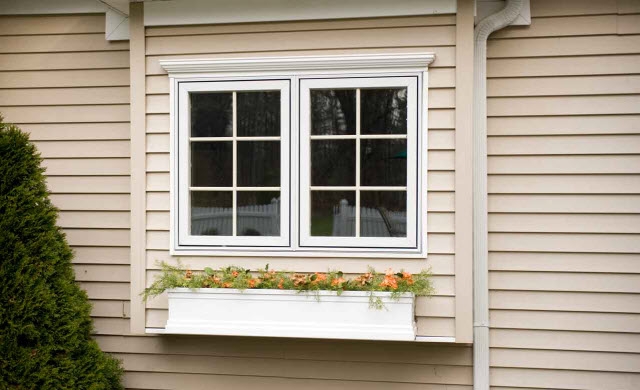

Try a higher sheen paint on your trim. It is a more durable coating and best highlights your home's architectural features.
For Best Results:
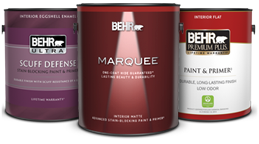
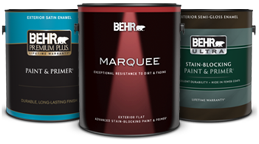
To promote adhesion and durability of your topcoat, use a PREMIUM PLUS® primer.
Not interested in applying a primer?
Consider using BEHR ULTRA™ products--innovatively developed as a paint and primer.
- Brush (2"-2½")
- Bucket
- Vinyl Gloves
- Ladder
- Paint Can Opener
- Painter's Tape
- Rags
- Stir Stick
The Window Frame
-
Step 1
Begin your painting project by pouring thoroughly mixed paint into a bucket and dipping a quality 2"-2½" wide nylon/polyester brush into the paint.
TIP: When working outside, it is best to work out of direct sunlight and in temperatures between 50º-90ºF with moderate humidity.
-
Step 2
With your brush, begin painting the inside frame of the window starting at the top.
TIP: To avoid drips, tap off the excess paint against the inside wall of the bucket.
-
Step 3
Continue until the inside frame is complete. Let it dry.
TIP: Reload the brush when necessary to maintain a wet edge.
The Window Sash
-
Step 1
Raise the lower sash and drop the upper sash.
-
Step 2
With your brush, paint the upper sash beginning with the crossbar.
-
Step 3
Continue to the lower sash beginning with the crossbar. Repeat the process with the obstructed sash areas.
TIP: Do not brush the top edge or the bottom edge of the window sash as they will be used to raise and lower the sash.
-
Step 4
Paint the window casing and sills. Let them dry.
TIP: For optimum results in quality of color and finish, apply a second coat.
The Window Trim
-
Step 1
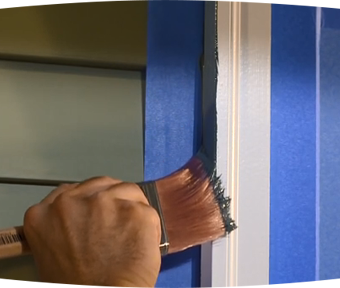
Starting at a top corner of the window trim, paint the side edge of the trim where it meets the wall. Continue until all side edges of the trim are complete.
Reload the brush when necessary to maintain a wet edge. -
Step 2
Return to the top of the window trim and begin painting the face of the trim.
-
Step 3
Continue until the window trim is complete.

PAINT AND STAIN CALCULATOR
Inside or outside; paint or stain: Let’s figure out how much you’ll need to make amazing happen.
Calculate
ASK AN EXPERT
Every project is unique: Keep small wrinkles from becoming big problems by letting the Behr Technical Experts lend a hand.
Get Expert Help
CONNECT WITH PRO REFERRAL - POWERED BY THE HOME DEPOT
Let Pro Referral do the leg work and match you with quality local painters.
Find a Painter Back to Exterior Painting How-To's
