DIY Vanity Restoration


I have been wanting a gorgeous vintage vanity to compliment my room for quite some time now! I have looked everywhere for something that I thought would be perfect and couldn't find anything that I love. So I decided, why not do a little DIY vanity makeover and create one that I love on my own?! A simple coat of paint can give new life to the things you already own. I absolutely adore how it turned out and I'm excited to share it with you!
Before I started painting my vanity, I went to the store and grabbed multiple samples of paint colors that I liked then I painted the samples on the back of my vanity so I could see which color I loved. I was able to take into account the lighting in the room at different times throughout the day, original color of the vanity, etc. I would highly suggest getting paint samples before you spend your time and money painting a piece of furniture!
DIY MAKEUP VANITY IN THREE QUICK STEPS
PREP
To begin, start by taking off the knobs--this will make this job a lot easier. Make sure the piece is clean; if needed, use a degreaser to help get grease or grime off of your surface. Sand your furniture to get a smooth surface--do not sand it to bare wood unless you are staining it. I used a palm sander to sand about 90% of the vanity then a paper sander for the nooks and edges.
Wipe off all surfaces with a wet cloth, then let it dry. Once dry, wipe it down once more with a tack cloth to get rid of very fine dust.

PRIME
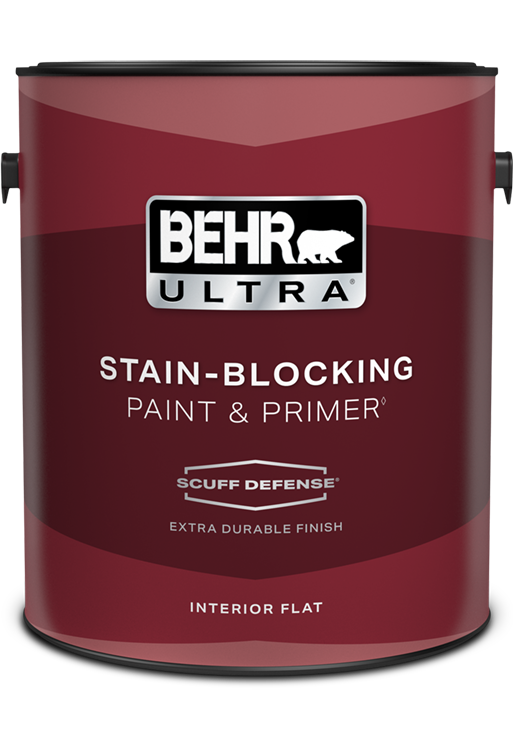
Using a foam roller and foam brush, prime the piece using KILZ 2® All-Purpose Primer. Use two thin coats. If you want more coverage, apply an additional coat but don't apply it too heavy.
Next, I filled in the little holes of the vanity with wood filler. I would have typically done this before the primer but because the vanity was so dark, I couldn't tell that there were holes in it until I had primed it.
At this point, you might need to sand it again if the primer raises the grain of the wood. If you choose to sand it again, don’t sand off all the primer, just do a light sanding to create a smooth surface. Then then wipe it with a wet cloth and tack cloth again to get rid of the dust.
PAINT
Now we get to put some paint on our vanity. If you are trying to decide what color of paint you want, grab some paint samples and paint the back of your furniture to test what you like best. It is so worth the little extra money so you don't end up painting your furniture a color you don't like and wasting your time and money doing so!
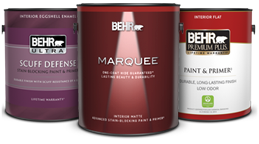
I used BEHR ULTRA® in Rosewater for this project, but Behr has a variety of other pink paint colors to choose from as well as a number of color tools to help you pick the perfect paint color. I decided to do two thin coats but really just one coat of BEHR ULTRA® paint and you are able to say goodbye to that dark color and hello to light and bright!
If you are trying to decide what color of paint you want, grab some paint samples and paint the back of your furniture to test what you like best.
TIP 1:
When it is cold outside, the last thing you want to do is paint outside or in the garage. I used a room and put cardboard down and covered the walls. I turned on Christmas music and painted till my heart was content! I had fun with this indoor project--instead of freezing outside trying to paint in the winter!
TIP 2:
I was able to find this perfect vanity for such a low price by utilizing an online Facebook yard sale group. I found a group that is located within my city and I posted that I was in search of an old vanity and included a picture of the type of vanity I was looking for. I had numerous people write in with the old vanities that they had then I chose which one I liked best. It was quick, easy, and cheap!
I decided to do two thin coats but really just one coat of BEHR ULTRA® paint and you are able to say goodbye to that dark color and hello to light and bright!
THE BIG REVEAL


Didn’t it turn out cute?
I absolutely love how this DIY vanity project turned out! Painting furniture can be a magical thing. If you look around and find something in your house that you don't love, see if it's something that you can paint! Making your home lighter and brighter can be as simple as a new coat of paint and a new color.
READY TO DIY?
Find your color, pick your paint, and be inspired.
When you're ready, buy your paint online.
- Explore colors on your own or browse through our curated collections.
- Click on "Buy Samples or Gallons” and then customize your options.
- Checkout at homedepot.com