How to Repair a Crack
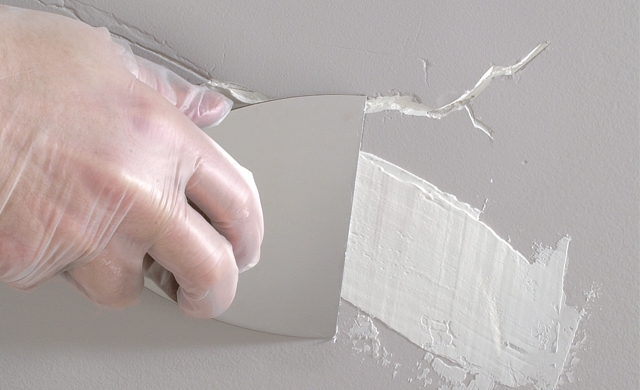

Now is the time to repair any wall damage before you paint. Ensure the beauty of your freshly painted walls by repairing any cracks.
For Best Results:
Refer to the how-to for step-by-step instructions on repairing cracks.
- 5-in-1 Tool
- Vinyl Gloves
- Ladder
- Patching Material
- Protective Apparel
- Putty Knife
- Rags
- Sandpaper (100, 220 Grit)
- Scraper
- Ceiling/Wall Patch
-
Step 1
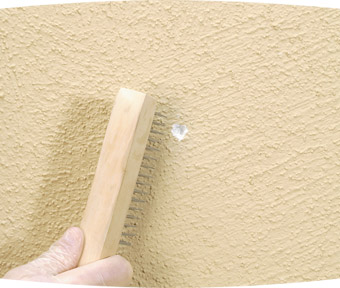
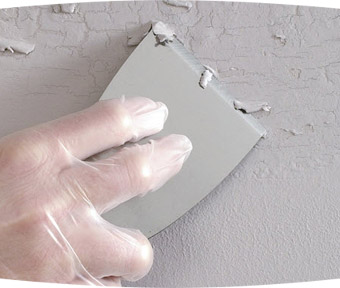
Using 100-grit sandpaper, remove any loose debris from the cracked area.
TIP: Use a 5-in-1 painter's tool to widen cracks that are less than ¼" wide. This will remove old caulking, paint, and other debris from the cracks and will allow the patching material to bond tightly to the damaged area.
-
Step 2
Again using 100-grit sandpaper, lightly sand any raised or rough areas. Remove any dust or debris from the area with a water-dampened rag.
-
Step 3
Using a putty knife, spread a thin layer of patching material into the cracked area. Allow it to dry.
TIP: To create an even surface, always smooth out (feather) the patching material 1"-2" beyond the repaired area.
-
Step 4
Use 220-grit sandpaper to smooth the patched area and make it even with the surface.
TIP: If shrinking of the patching material occurs, lightly sand and clean the area and apply additional layers of patching material as needed.
-
Step 5
Remove any final dust or debris from the finished repair.
TIP: If retexturing of the surface is necessary, choose a finish that will match the existing surface. Textured ceiling/wall patch kits are available in aerosol and powder forms. Follow the manufacturer's recommendations for application.

PAINT AND STAIN CALCULATOR
Inside or outside; paint or stain: Let’s figure out how much you’ll need to make amazing happen.
Calculate
ASK AN EXPERT
Every project is unique: Keep small wrinkles from becoming big problems by letting the Behr Technical Experts lend a hand.
Get Expert Help
CONNECT WITH PRO REFERRAL - POWERED BY THE HOME DEPOT
Let Pro Referral do the leg work and match you with quality local painters.
Find a Painter Back to Interior Painting How-To's
