How to Paint Paneling
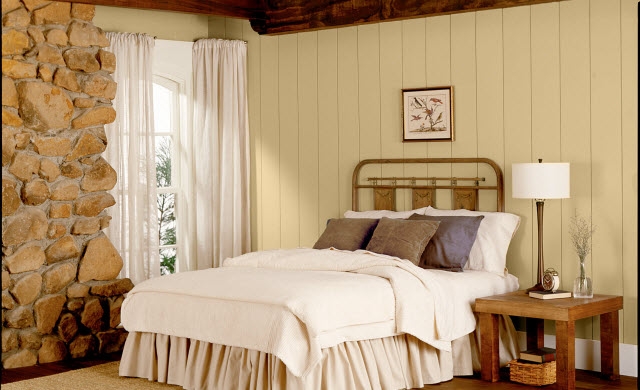

Introduce color into your wood-paneled room. Applying a fresh coat of color to your wood paneling is a do-able project that can make a positive difference to your home.
For Best Results:
Refer to our how-to below for a step-by-step guide through the process of painting your paneled walls.
- Brush (2"-2½")
- Bucket
- Bucket Grid
- Extension Pole
- Gloves
- Ladder
- Paint Can Opener
- Paint Tray
- Paint Tray Liner
- Rags
- Roller Cover and Frame
- Sandpaper (150-220 Grit)
- Stir Stick
-
Step 1
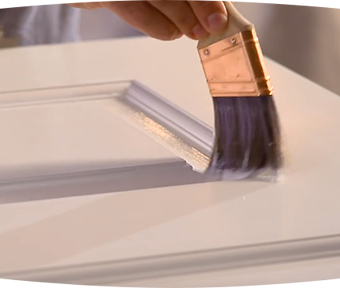
Begin your painting project by pouring thoroughly mixed paint into a bucket and dipping a quality 2"-2½" wide nylon/polyester brush into the paint.
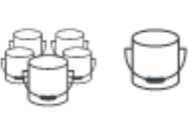
TIP: When using more than one gallon of paint, combine the containers for better uniformity of color. This intermixing is called "boxing."
-
Step 2
With your brush, paint (cut in) along the perimeter of the paneling. Start at a top corner and continue along the ceiling and around the baseboards.
TIP: As you cut in, be sure to remove the excess paint that collects between the panel grooves with your brush.
-
Step 3
Starting at the top of your project area, paint into the grooves of the panel. Follow the direction of the panel.
TIP: To ensure a uniform finish, lightly pass the tip of the brush bristles over the grooves. Feather the paint as you go.
-
Step 4
Pour paint into a paint tray and work the roller into the tray until it is fully loaded with paint. For best results, use a ½"-¾" roller cover.
TIP: For larger areas, consider using a 5-gallon bucket and a bucket grid.
-
Step 5
Starting in a 3' section at a top corner of your project area, roll the paint onto the paneling, working from the top to the bottom.
TIP: For an even application, begin 3"-4" from the cut in section.
-
Step 6
Be sure to roll over the cut in area as well. Forming a column from ceiling to floor, paint the next 3' section directly beside the previous one.
TIP: To blend the 3' sections and ensure a uniform finish, lightly pass the roller over the newly painted area.
-
Step 7
Repeat the process of forming columns and blending sections until the project is complete. The color of the panels will change, however the grooved shape of the panels will remain.
TIP: For optimum results in quality of color and finish, apply a second coat.
More How-Tos

PAINT AND STAIN CALCULATOR
Inside or outside; paint or stain: Let’s figure out how much you’ll need to make amazing happen.
Calculate
ASK AN EXPERT
Every project is unique: Keep small wrinkles from becoming big problems by letting the Behr Technical Experts lend a hand.
Get Expert Help
CONNECT WITH PRO REFERRAL - POWERED BY THE HOME DEPOT
Let Pro Referral do the leg work and match you with quality local painters.
Find a Painter Back to Interior Painting How-To's

