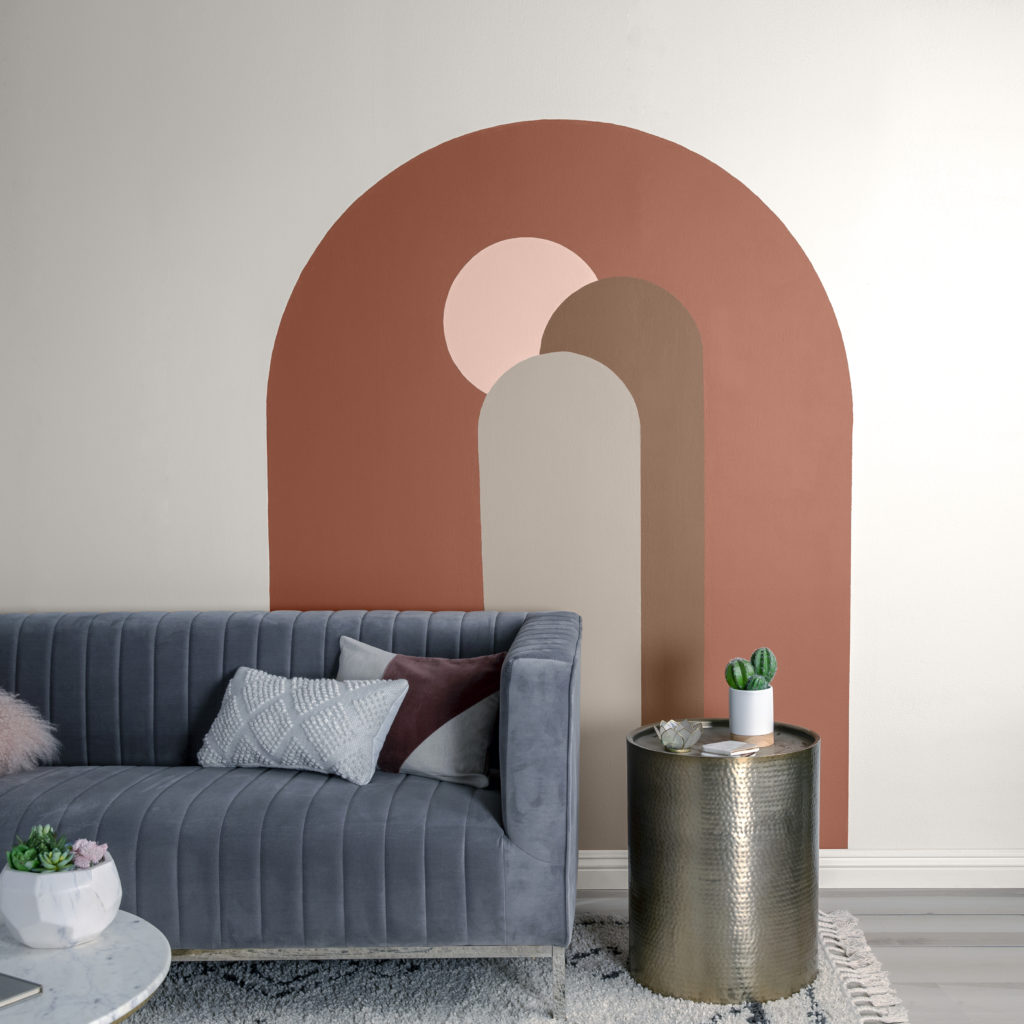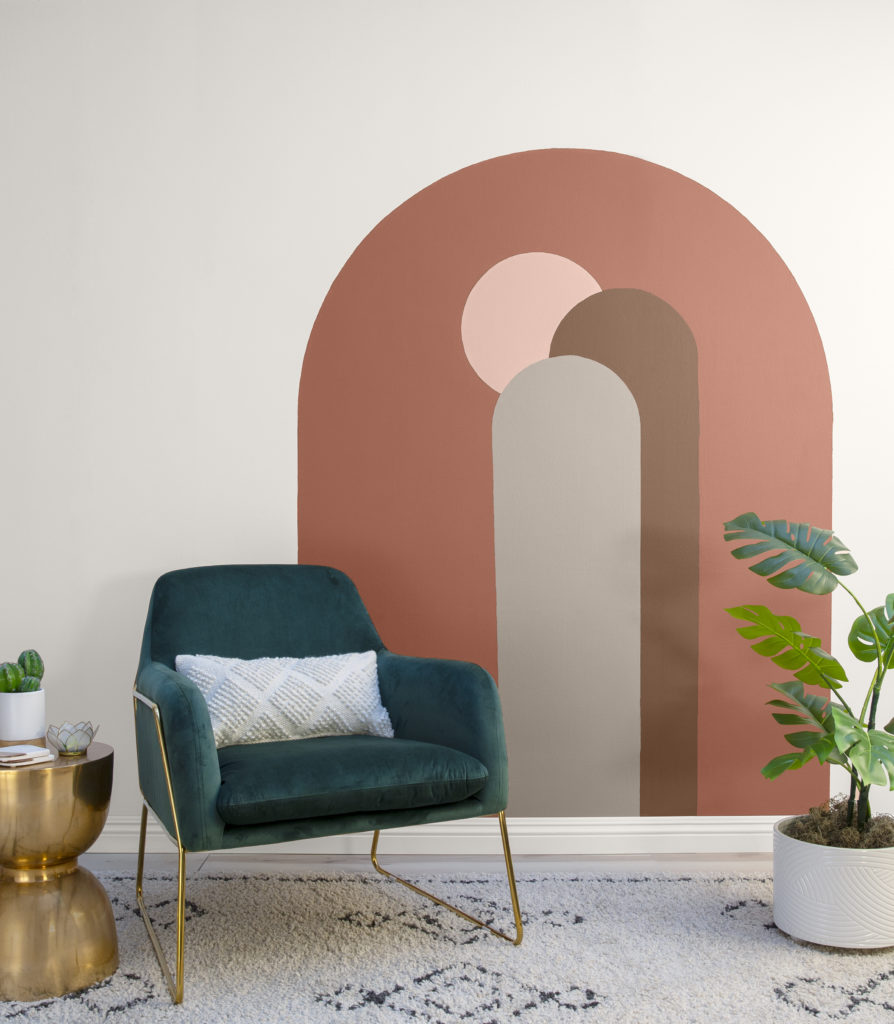
Painted arches murals are having a moment right now and are versatile enough to be incorporated into any room. Use them as a focal point to help a space feel relaxed or bring visual interest to a room. Carefully chose where you want your arch to go as all eyes will be on it upon entering a room!
For the arch design in this project, we chose colors from the BEHR® Color Trends 2022 Palette. The combination of colors is a soothing harmony and provides a sense of warmth.

The painted arches design can be achieved following these simple steps:
Materials:
Pencil
Ruler or level ruler
String
Painters tape
Paint
Wall – BEHR ULTRA® SCUFF DEFENSE™ INTERIOR EXTRA DURABLE FLAT
Arches – Behr Marquee 8oz. samples available at BEHR.com.
Paint Roller
Small Angled Paint Brush
Paint Tray and Liner
Step 1 – Create Base of Arch
With a pencil draw vertical lines to indicate the base width of the arch.
Step 2 – Create Curve of Arch
Measure a piece of string to half the width of the arch base, allow extra string to attach a pencil. Tape one edge of string in the center, between the horizontal lines, top area. While keeping the string tight, use the pencil attached to draw the curved part of the arch.
Step 3 – Paint Arch
Use painters tape along the straight areas to prevent from painting outside the lines. For the curved areas, a small angled brush is helpful to use around the inside edges to create a thick boarder before filling in. Use a roller for larger areas.
Helpful tips:
- Always remove painters tape at a 45º angle and immediately after painting to avoid pulling back the paint.
- Let paint completely dry before adding a second coat or using new painters tape.
- Take a step back and touch up any areas needed.

The painted arches design and colors are so versatile and can easily be adapted as we move into the winter season. For more color ideas and rooms inspiration using the BEHR 2022 trends palette, visit BEHR.com.
Colorfully yours,
Diana


