Ghostly greetings!
October is the month where spooky goblins, friendly ghosts and scary trick or treaters come to play! This month we wanted to bring the Halloween spirit to your home by creating a reusable project that is sure to last for many Halloweens to come. This quick but frightful DIY project showcases our color of the month Graphic Charcoal N500-6. This hue pairs well with our 2020 Trend color Rumba Orange M230-7 making it the ideal spooky duo.
Difficulty level: Beginner
Time to complete: 1-2 hours
Materials:
- Paint – Behr PPU Graphic Charcoal N500-6 and Behr PPU Rumba Orange M230-7
- 4 Wood Crates
- 1 Pine full round pole
- 4×4 cut into 3 ft, 2 ft, 1 ft
- 4×5 cut into 3.5 ft, 2.5 ft, 1.5 ft.
Most of our materials were purchased at The Home Depot. An associate was happy to cut the wood for us with the dimensions desired. We made sure to cut our wood blocks in different lengths to make different sized pumpkins.
- Hot glue gun + glue
- Ribbons
- Sanding block
- Paint brushes
- Paint tray
- Other Halloween decorations for display
Step 1: Prep
Sand the uneven edges of your wood to remove splinters and achieve a smooth surface for your paint.
Step 2: Assemble
Apply glue where you would like to place your pumpkin stem. Place and hold down until the stem is secured by the glue.
Step 3: Paint
Once your pumpkin is assembled, paint the block in Rumba Orange and the stem in Graphic Charcoal.
Step 4: Final Touches
Decorate your pumpkin stems with pipe cleaners, ribbons, leaves and even flowers!
Step 5: Completing the look
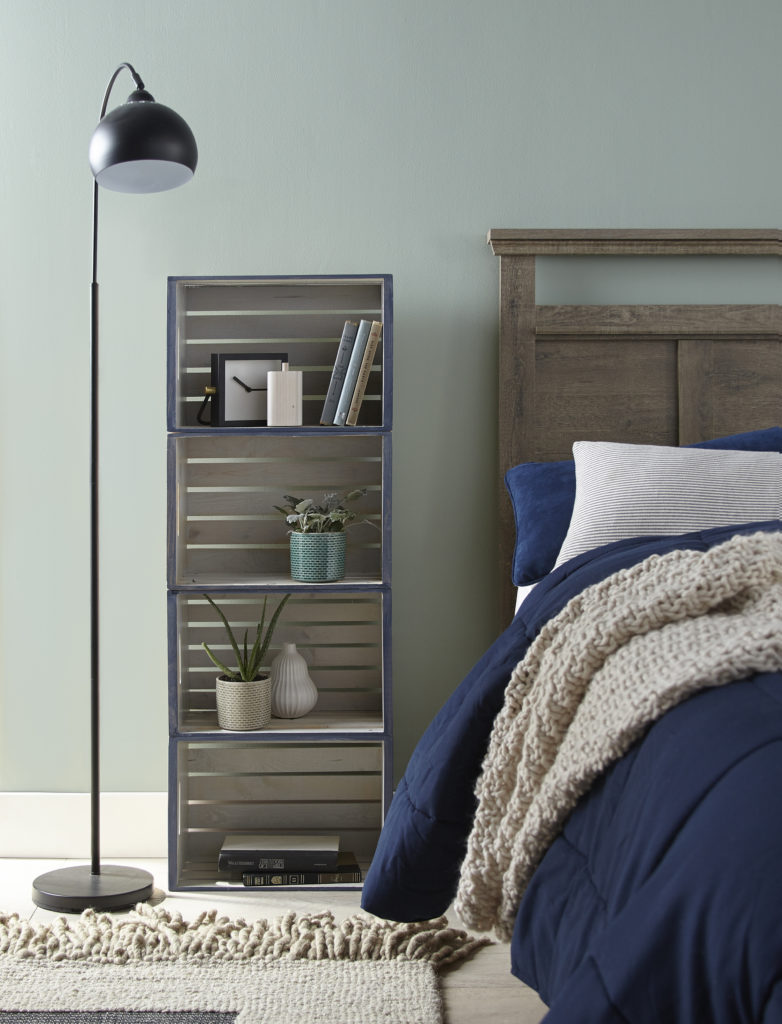
Paint crates to create levels where your pumpkins can live. (remember that these crates can be used year round and hey, we might even reuse them for future DIY projects)
Display your spooky pumpkins and welcome the halloween spirit inside or outside your home.
Note: Please be cautious of open flames to ensure your safety.
Have fun this Halloween and make sure to check out our 2020 trends website for more inspiration.
Colorfully yours,
Daniela Donato


I love it! So Halloween and Harvest classy- thank you!