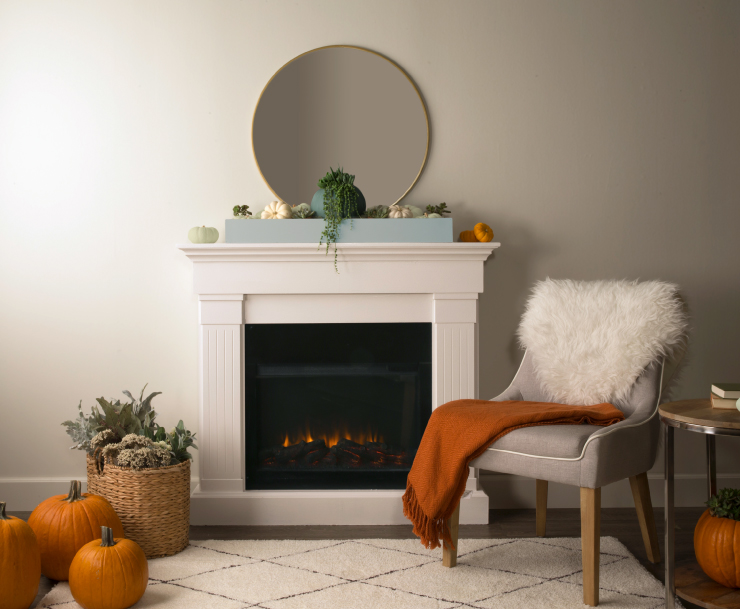
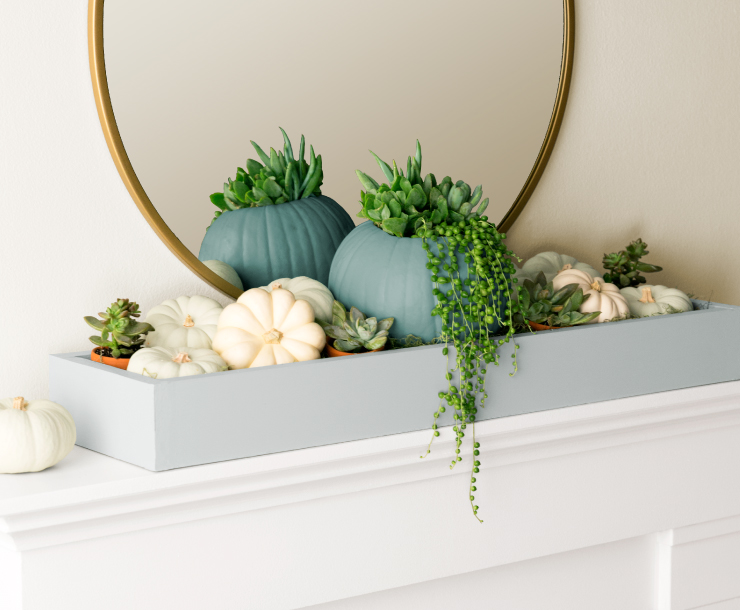
Variety- it’s a good thing! Though it’s hard to beat a forest of leaves turning in a breathtaking display of orange, yellow and red, mixing it up every now and then keeps our creativity active and malleable. For this project, we created a mantle box filled with pumpkins painted in cool coastal tones.
To complete this project you will need the following:
Lumber in the following dimensions:
(1) 7.25″ x 30″ x 0.75″
(2) 7.25″ x 3″ x 0.75″
(2) 3″ x 31.5″ x 0.75″
Brad gun and 1.25″ brads, or a hammer and finishing nails
Paint- we used Quiet Time T18-19
Paint Brush
Decorative elements- pumpkins, leaves, succulents etc…
Miter or hand saw
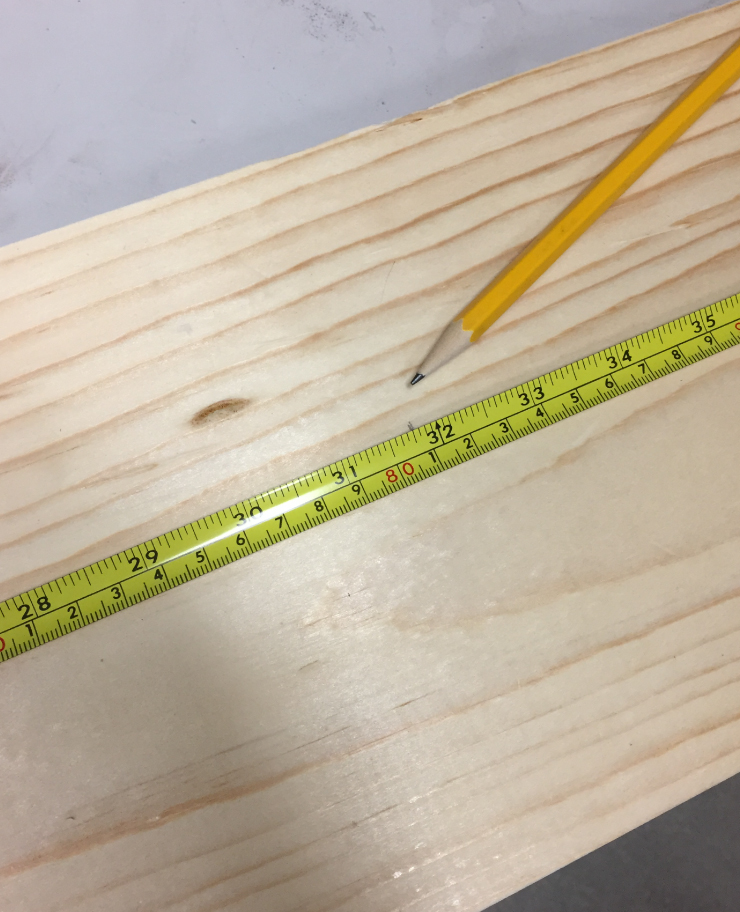
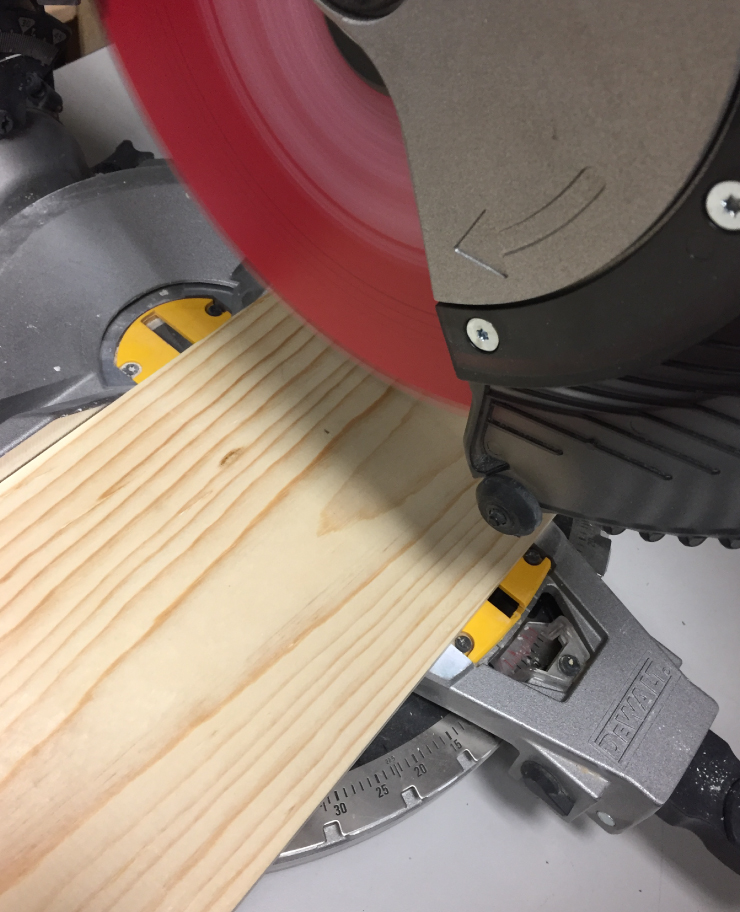
Step 1: Measure and cut wood
You can use the dimensions provided, or you can create customized measurements to suit your home’s mantle.
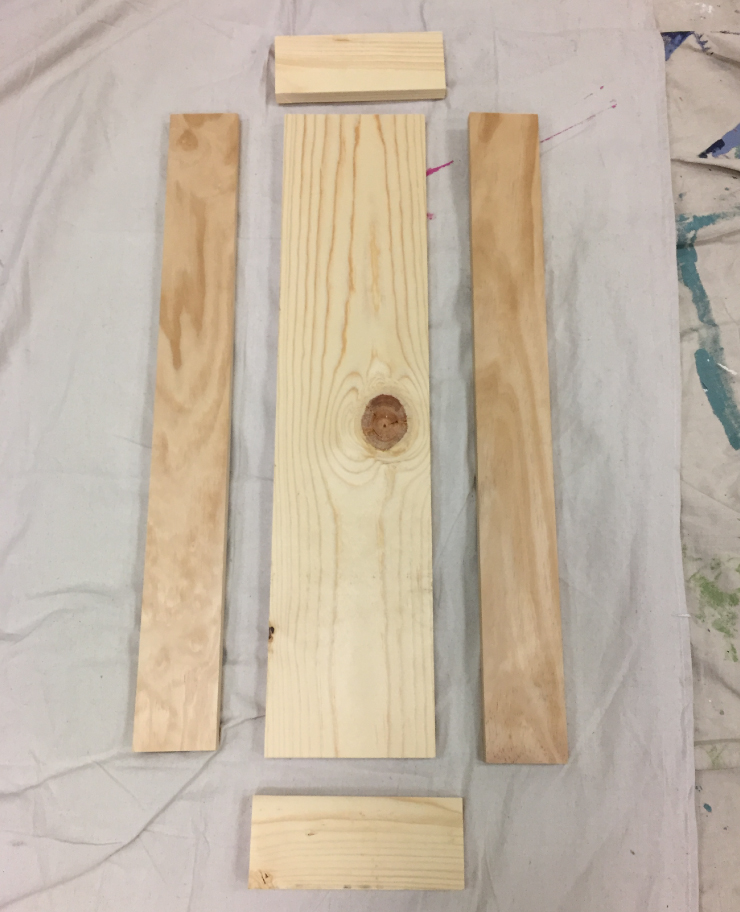
Step 2: Lay out wood for assembly
Line up your pieces to make it easier to assemble. Your largest piece will be the bottom of the box.
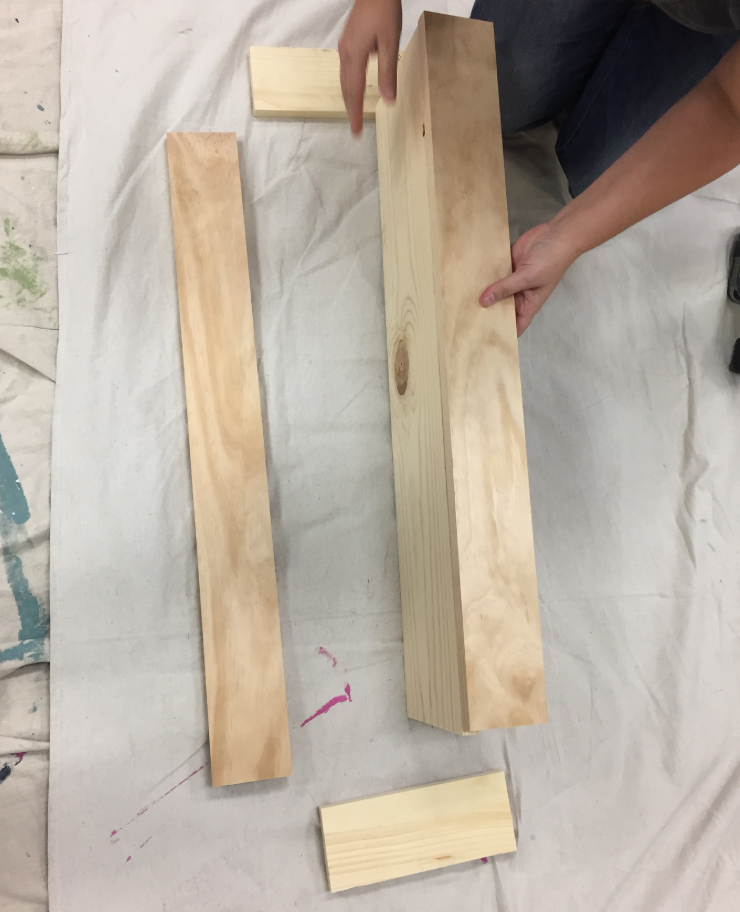
Step 3: Assemble box
Start with the long pieces and attach to bottom piece.
Use your brad gun to secure in place.
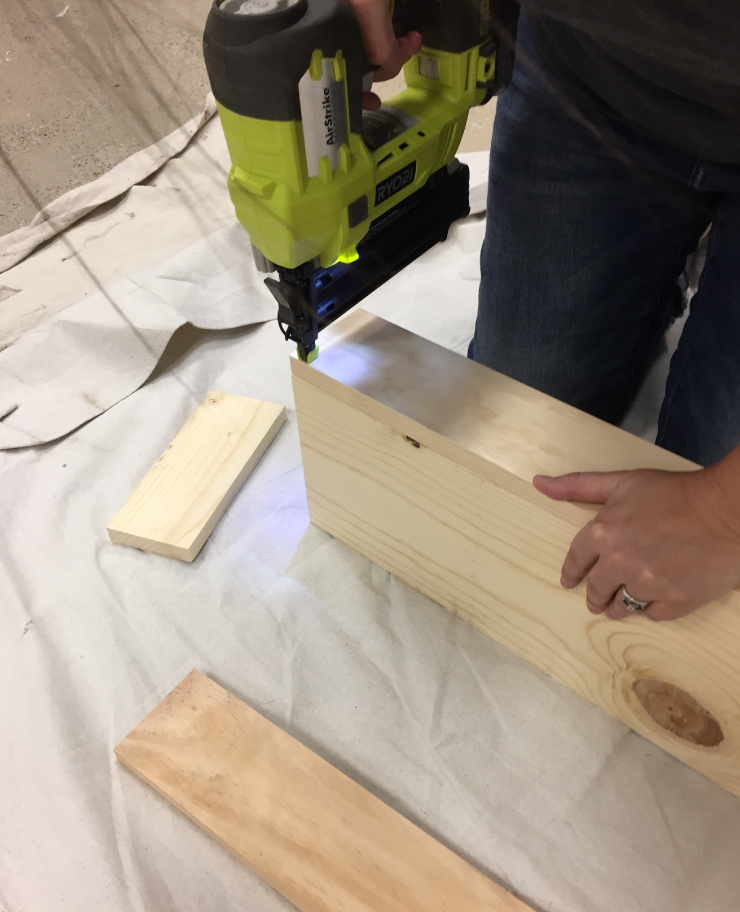
Repeat with the other side.
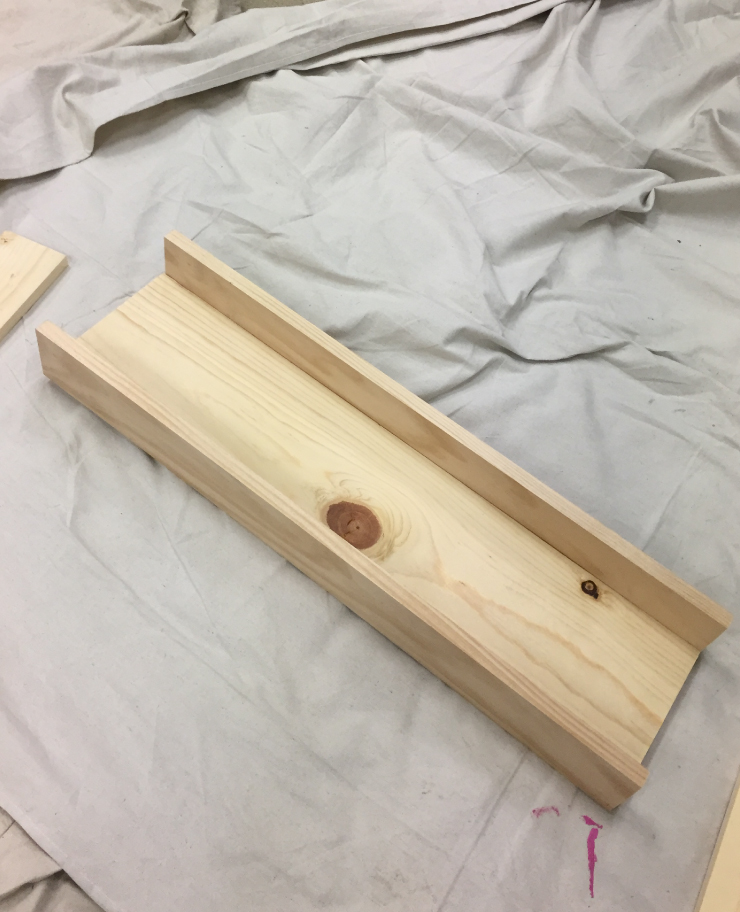
Attach the end pieces next.
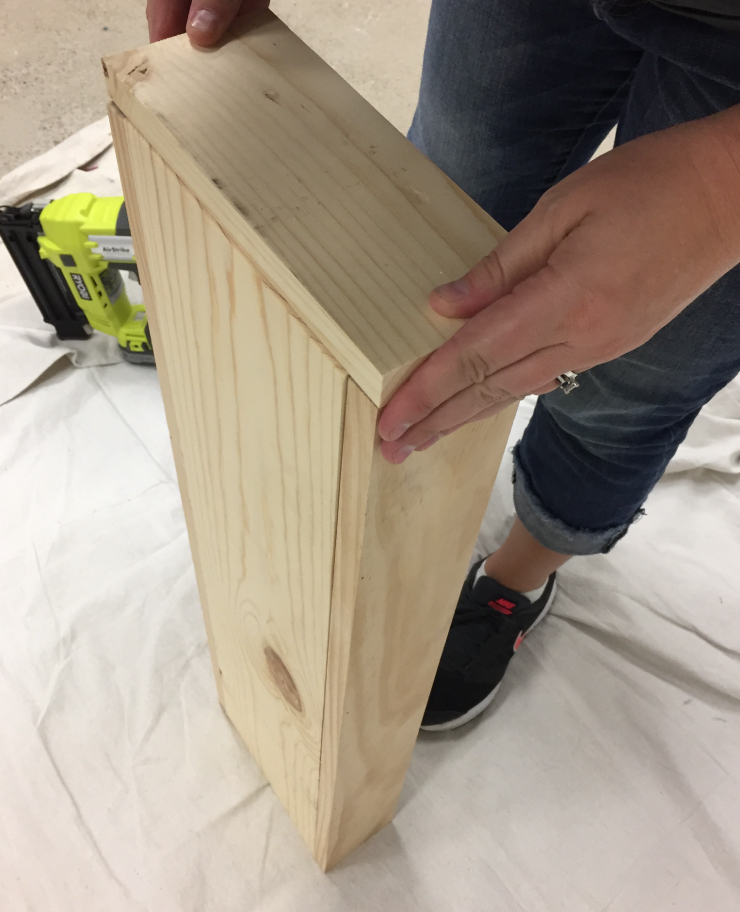
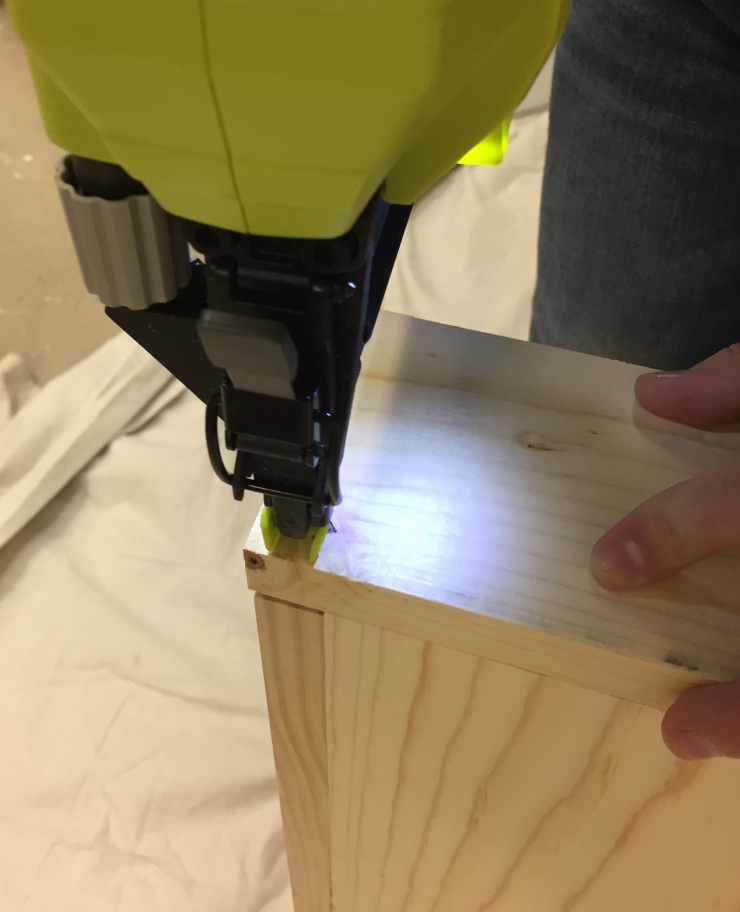
Flip and repeat to complete your box.
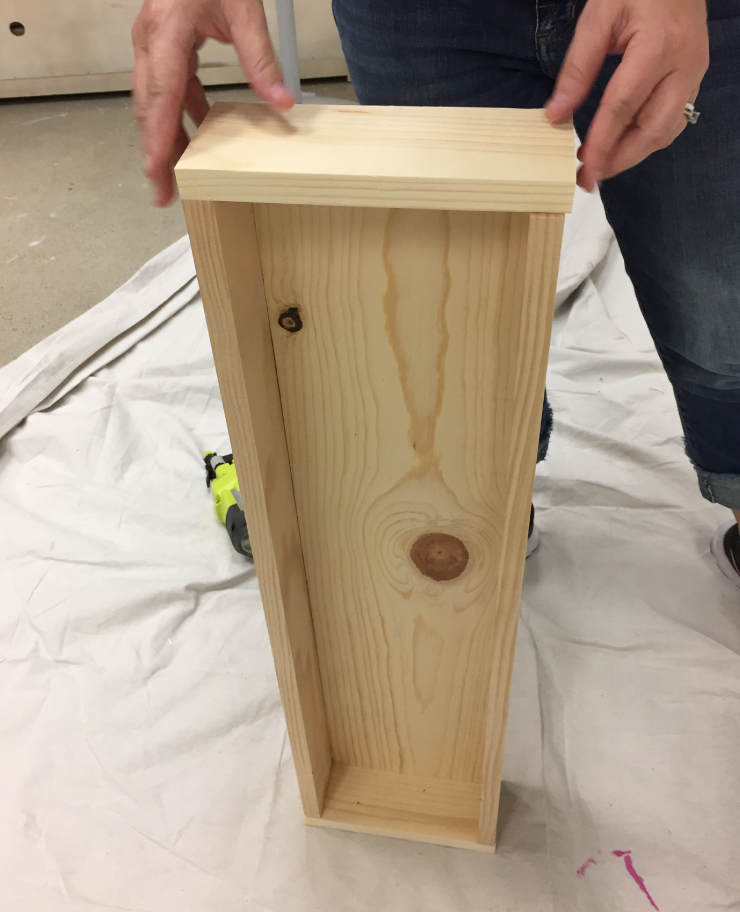
Step 4: Paint
Paint your box in the color of your choice. We chose a soft gray called Quiet Time T18-19 from our 2018 Color Trends collection.
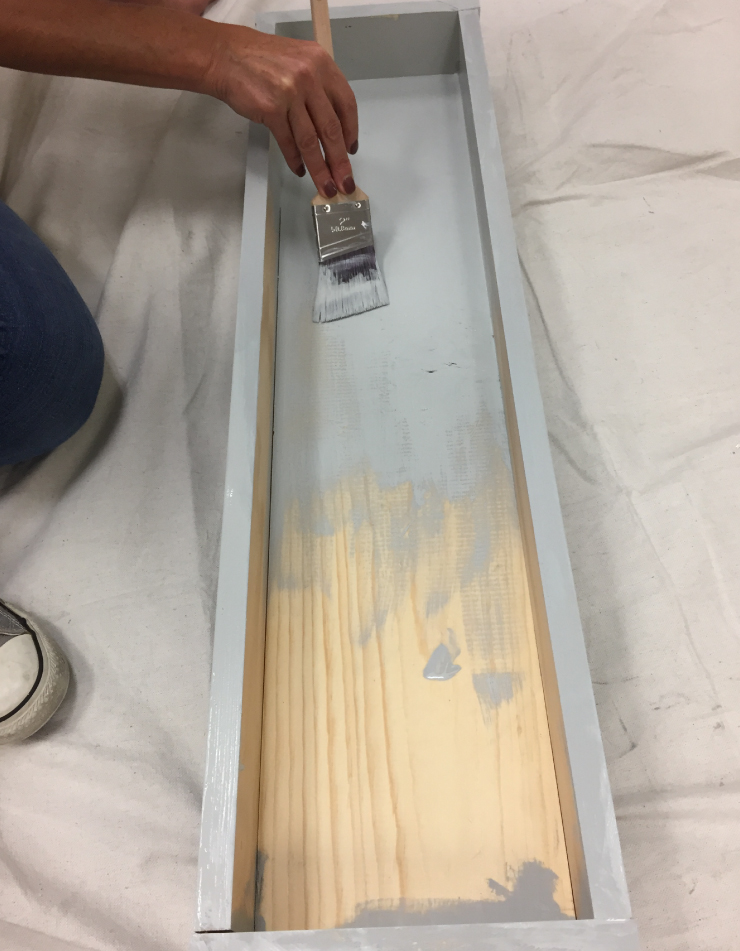
Allow the box to dry. Apply a second coat if necessary/desired.
Step 5: Decorate and enjoy
Fill your mantle box with festive, fall decorations for all to see and enjoy.

Colorfully yours,
Quinn

