Give an old bookcase a new life with a little love and the help of paint.
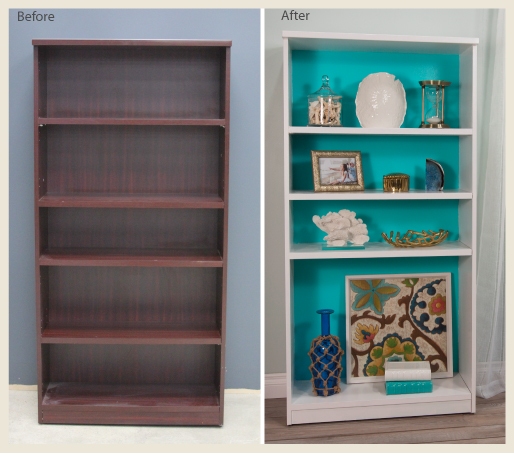
This entry will show how I transformed a boring, wood bookcase into a stylish and playful piece with a little love and a coat of paint. I decided on seaside feel with a blue-green and white color scheme. I added a pop of brilliant turquoise to the back panel to give it more depth and interest.
For this project you will need the following:
Bookcase to paint
Sander and fine-grit sandpaper – a power sander can help get the prep-work done quicker.
Primer- I choose Kilz Complete for it’s ability to adhere to plastics.
Paint in the color(s) of your choice. I chose BEHR® Alkyd Semi-gloss Enamel to get a glossy lacquered look.
Painting Supplies:
- Paint Tray
- Paint Tray Liners
- Paint Drop Cloth
- Painter’s Tape
- Painter’s Paper
- Paint brushes / Mini-rollers
- Gloves
- Mask
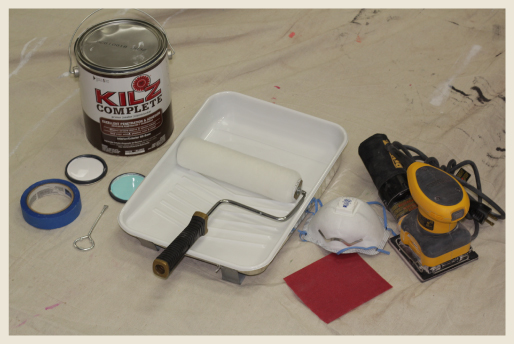
Step 1: Prep area for the painting
Start by placing a drop cloth on the floor, and open any windows and doors to allow plenty of ventilation into the area. Position the bookcase to be painted over the cloths. Put on a face mask and gloves, if desired, before beginning the project.
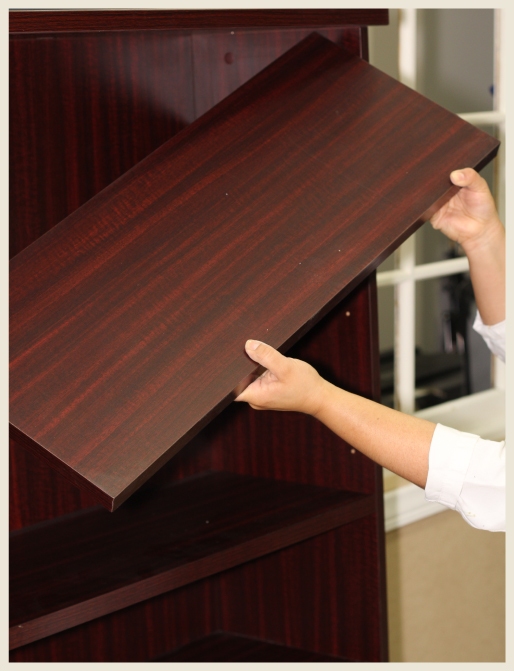
Step 2: Remove the shelves and shelf brackets- if applicable.
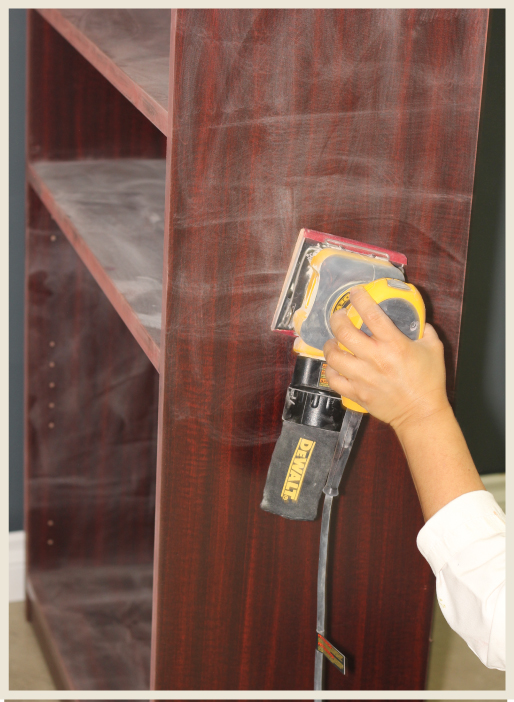
Step 3: Sand the entire bookcase.
Remove the current finish to create a surface the paint can adhere to.
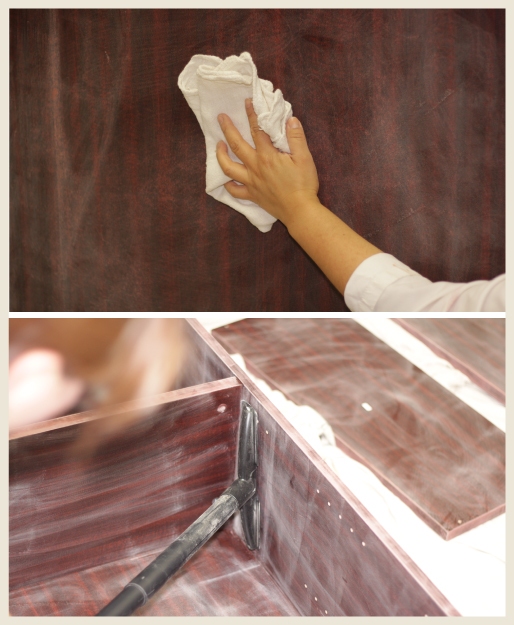
Step 4: Wipe down your bookcase.
When you’ve finished sanding you will need to remove all the dust. Residual dust can create unevenness in your new finish, and keep the paint and primer from adhering to the surface properly. I vacuumed the dust from the crevices and used a lightly dampened rag to wipe the shelves and frame.
Step 5: Patch any chipped, holed, or pitted surfaces with wood filler.
If you like uniformly spaced shelves, you call fill the holes you don’t plan on using. I opted to leave the extra holes above and below each shelf in case I wanted to shift things slightly to accommodate taller or shorter items.
Step 6: Paint a coat of primer on the bookcase and shelves.
This will hide imperfections and provide a surface for the paint to adhere to. Allow the primer to dry for at least three hours before you begin painting the furniture piece
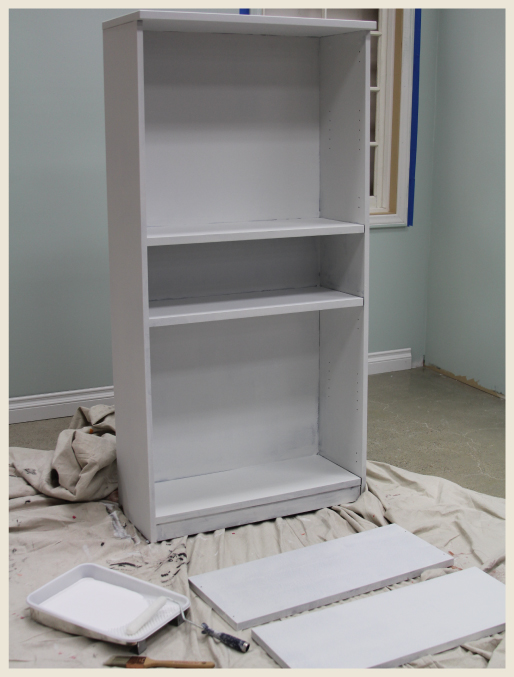
Step 7: Apply a coat of paint on top the primer (I chose Ultra Pure White as my main color).
Begin painting your bookshelf- use a brush for smaller areas the roller can’t get to. Allow the first coat to dry, and inspect the piece for any areas that are not completely covered by the paint. Touch up where necessary.
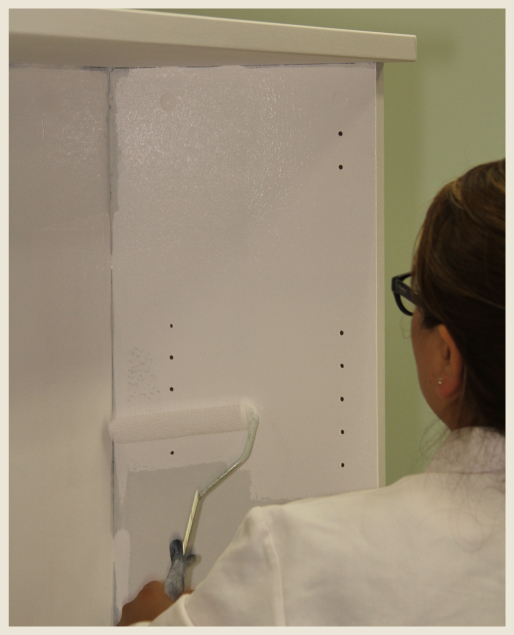
Step 8: Apply a second coat of paint, if necessary/desired.
Allow to dry.
Step 9:Remove excess paint from inside the bracket installation holes if you removed the shelves prior to painting.
Use a nail or wood pick to scrape the paint from the clogged holes)
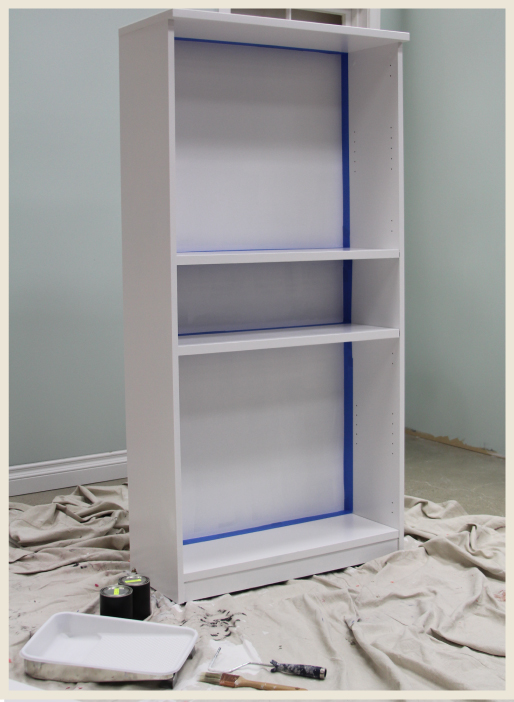
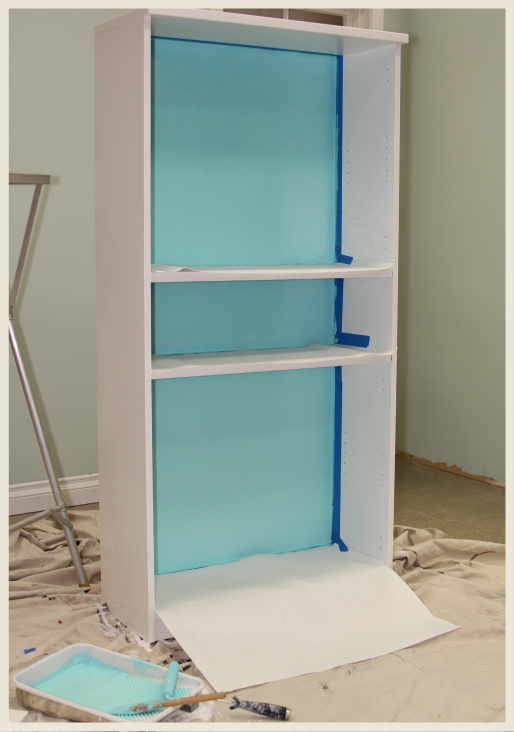
Step 10: Use Painter’s tape and paper to outline where your accent color will be painted.
Step 11: Start applying your accent paint color.
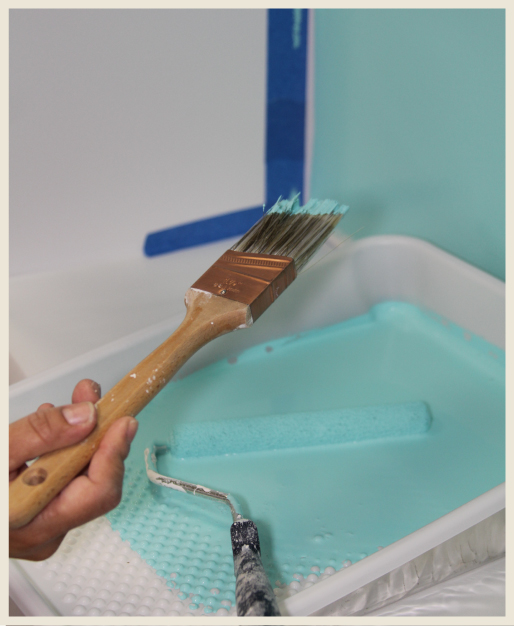
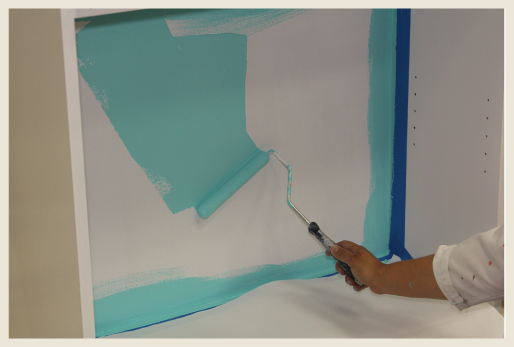
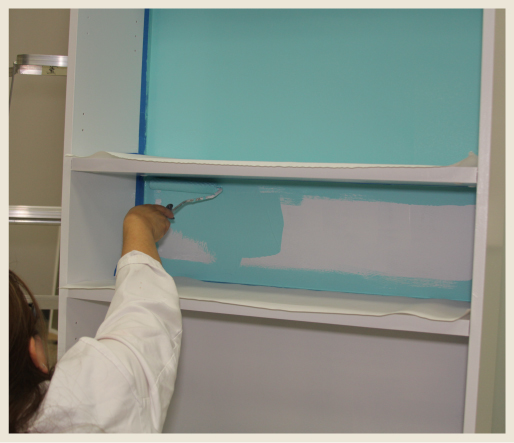
I chose a color called Water Pool AE-38. Edge it first with the paint brush then follow with your roller. Allow to dry. Apply second coat if desired/necessary and allow to dry.
Step: 12 Reassemble your bookcase.
Colorfully yours,
Diana

