Look around your home, perhaps you have a beloved piece of furniture that looks a little worse for wear? No need to buy new, or disgard. With the help of a little paint, you can give a new life to your piece. Get ready to get colorful, have fun, and fall in love again by following these easy steps for a furniture redo.
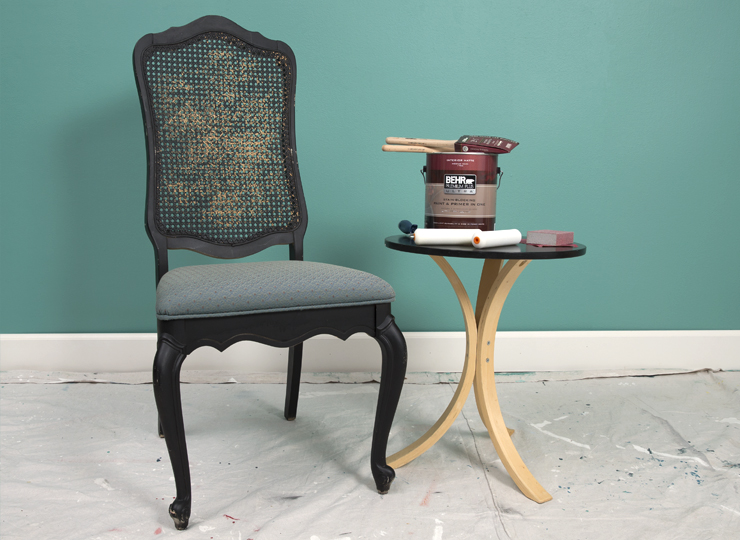
Materials:
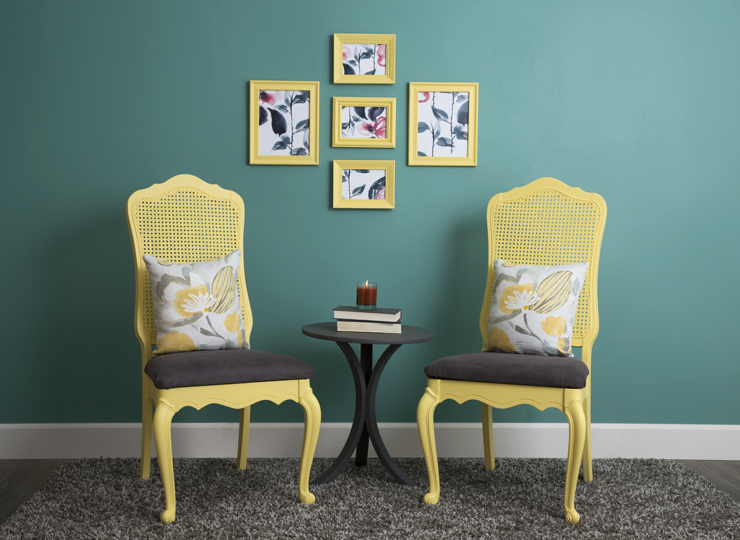
A “seen better days” furniture item (We upcycled two matching chairs and a small round table)
Paint (We used Lemon Burst T17-20 and Shades On T17-10)
Primer (We used KILZ2 Primer)
Paint Brush
Paint Roller
Paint Tray
Drop Cloth
Fabric (optional)
Hot Glue Gun (optional)
Scissors (optional)
Step 1: Prep your furniture
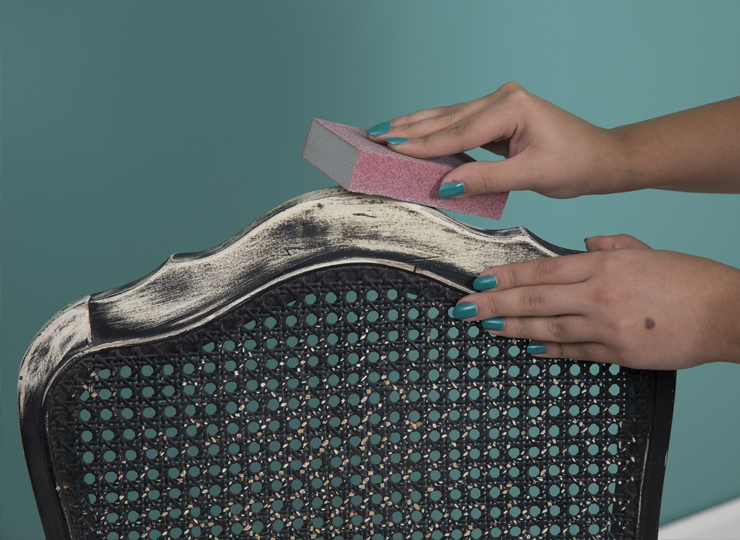
Using sand paper or a sanding block, sand down the previous finish and any uneven surfaces. Once the furniture feels smooth, wipe away any existing dust from the surface with a damp paper towel.
Step 2: Apply Primer
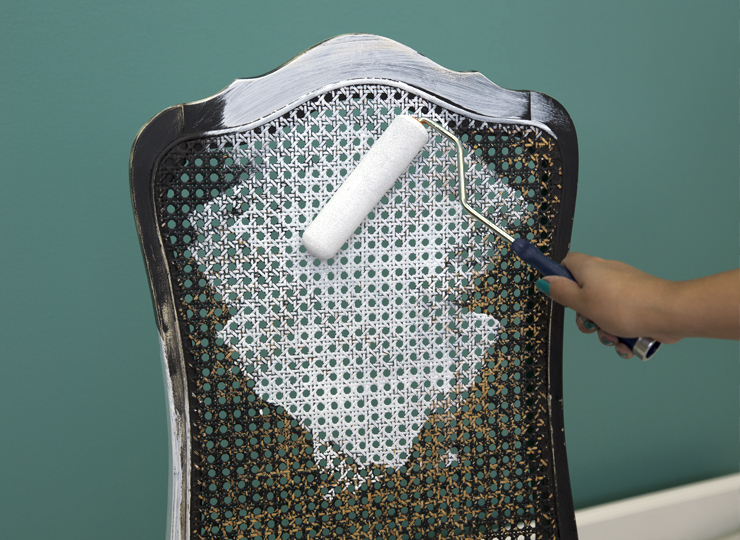
Paint your furniture piece with primer. Doing so will ensure the new paint color adheres properly. Allow to dry completely before moving on to step 3.
Step 3: Paint
Paint your furniture. Allow to dry and apply a second coat if necessary/desired.
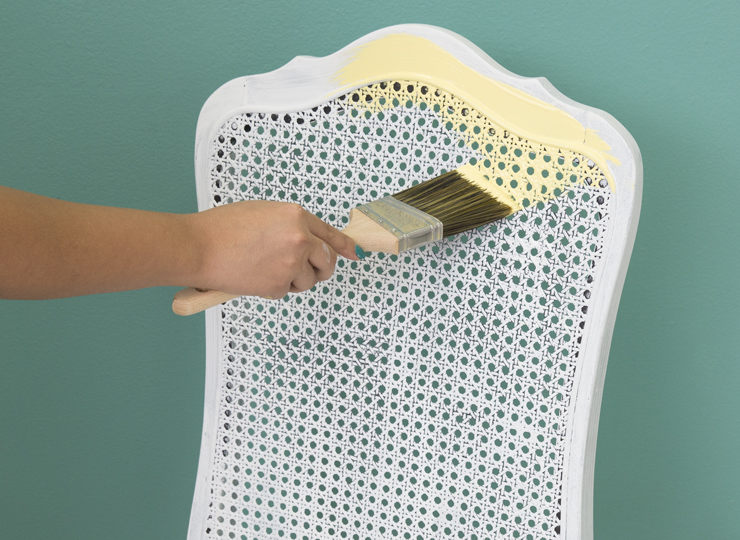
Chair color: Lemon Burst T17-20
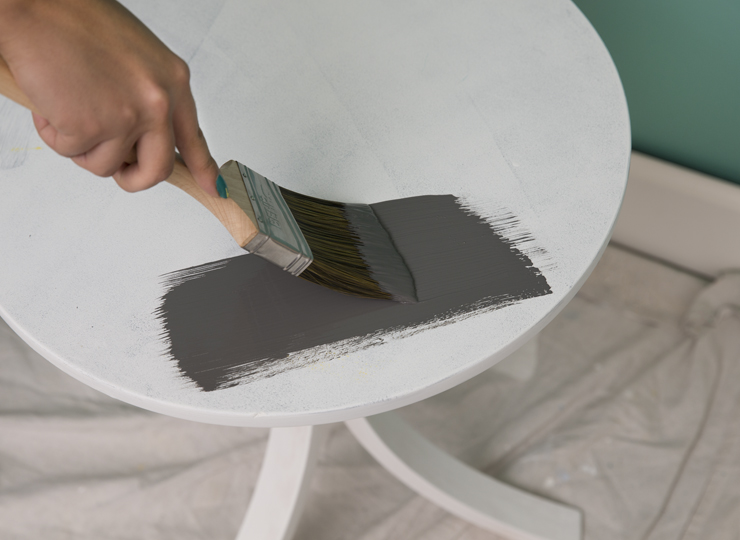
Table color: Shades On T17-10
Step 4: Reupholster your fabric (optional)
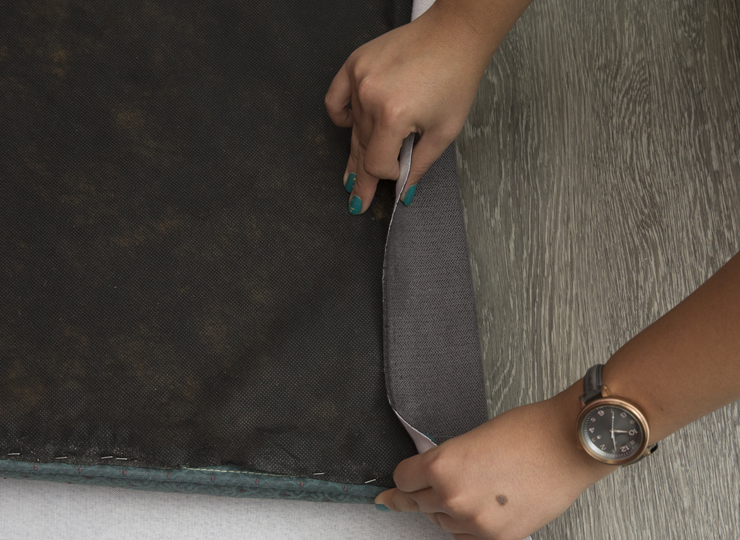
If your furniture piece has a cushion, consider further updating with new fabric. First remove the cushion from the furniture pierce. Lay your fabric flat on the floor (pattern side down) and place the cushion in the center. Cut a four inch boarder around the cushion in a the same shape.
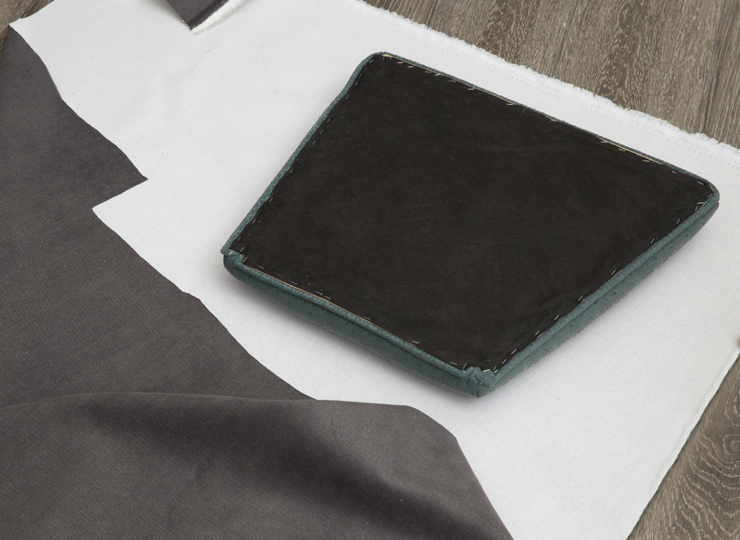
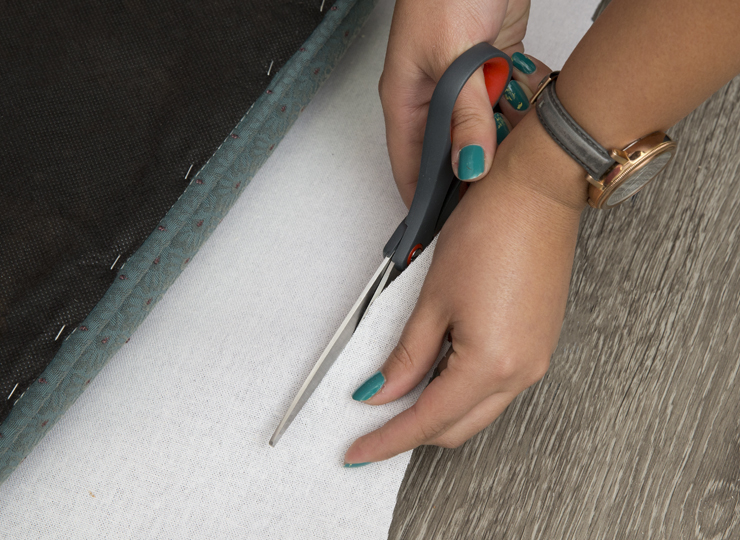
With your hot glue, glue along the edges of the cushion and fold the fabric over the glue. Repeat this process for all four sides to cover the cushion.
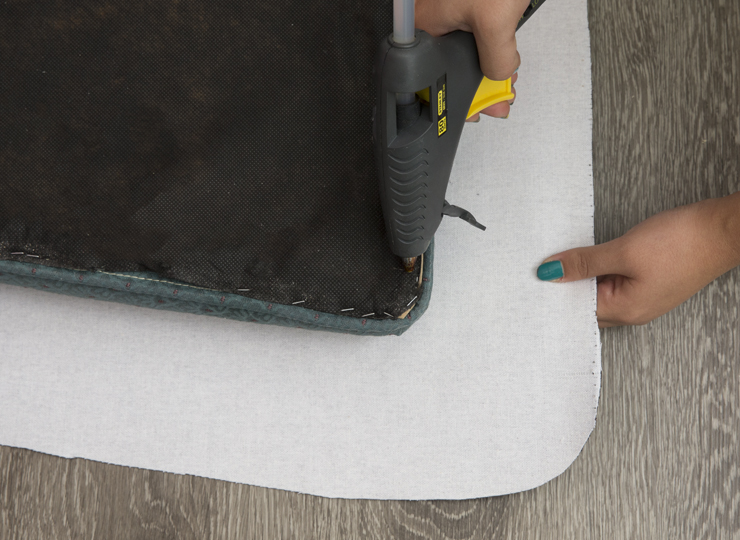
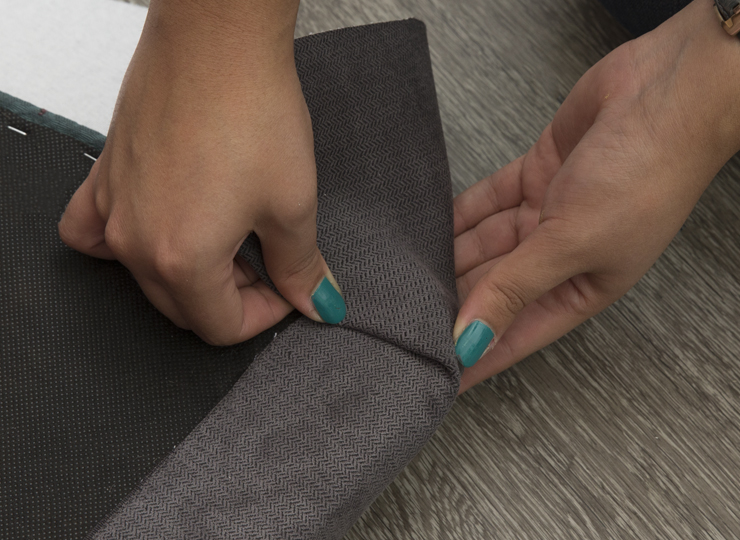
Dart the corners and secure to the cushion with an additional application of glue. Reattached cushions to the furniture piece when done.
Step 6: Place your revived piece in its new home
Add some coordinating details and celebrate a new life for your old furniture.
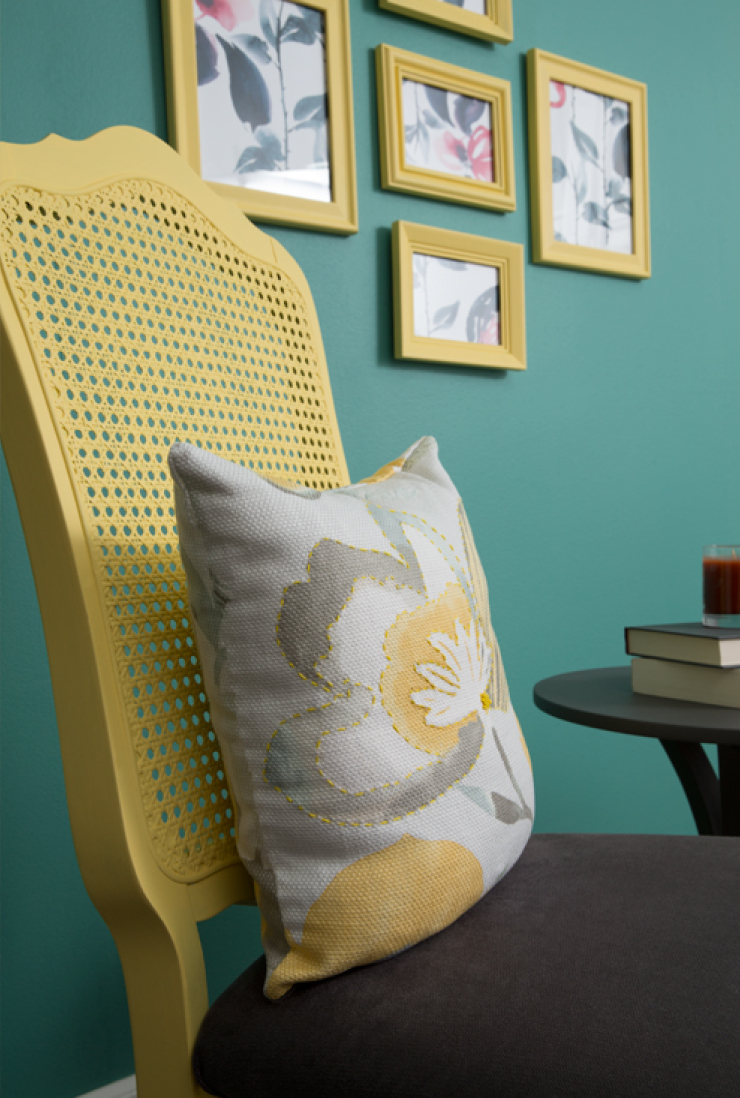
Wall Color: Jade Dragon T17-15
Colorfully yours,
Sha Khezri

